How to upgrade your gazebo to fix it with Peggy Pegs

Upgrade Your Gazebo with Peggy Pegs: Essential Tips for Party Tent Enhancement
Ultimate Guide to Upgrading Your Gazebo with Peggy Pegs
In this Blogpost, we want to show you how to upgrade your gazebo in six simple steps. When you are done, you can easily fix the gazebo with your Peggy Peg equipment, ensuring that it won't be blown over by the wind. This enables you to set it up in any season.
The idea
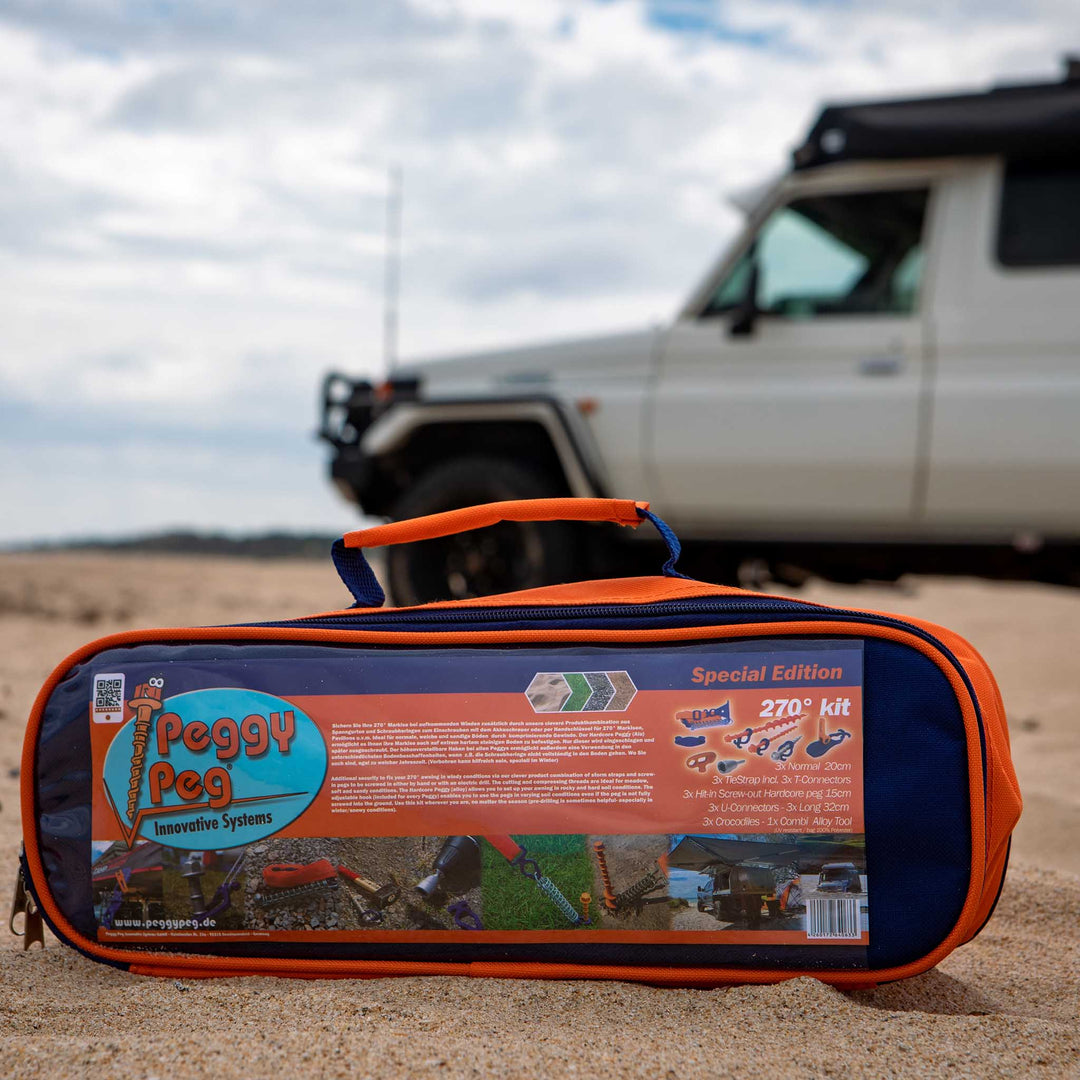
We recently had a garden party to celebrate a big birthday. Obviously, we fixed both tents with our Peggy Peg screw pegs and TieStrap Crocodile Combination:

It is generally very windy in the area where we were which means that we need to properly secure the gazebo to the ground, so it won't be blown over by the wind.
However, we also realized that the holes through which we wanted to fix the tent poles to the ground were rather small.
Accordingly, only our Small pegs would fit. It is not that they would not do the job. Yet, they are quite small and don't really find grip in the soft grounds in this area.
To be able to use our bigger pegs, we knew that we had to transform the holes. The idea for our new project was born.

Step 1
Check the diameter of the current holes
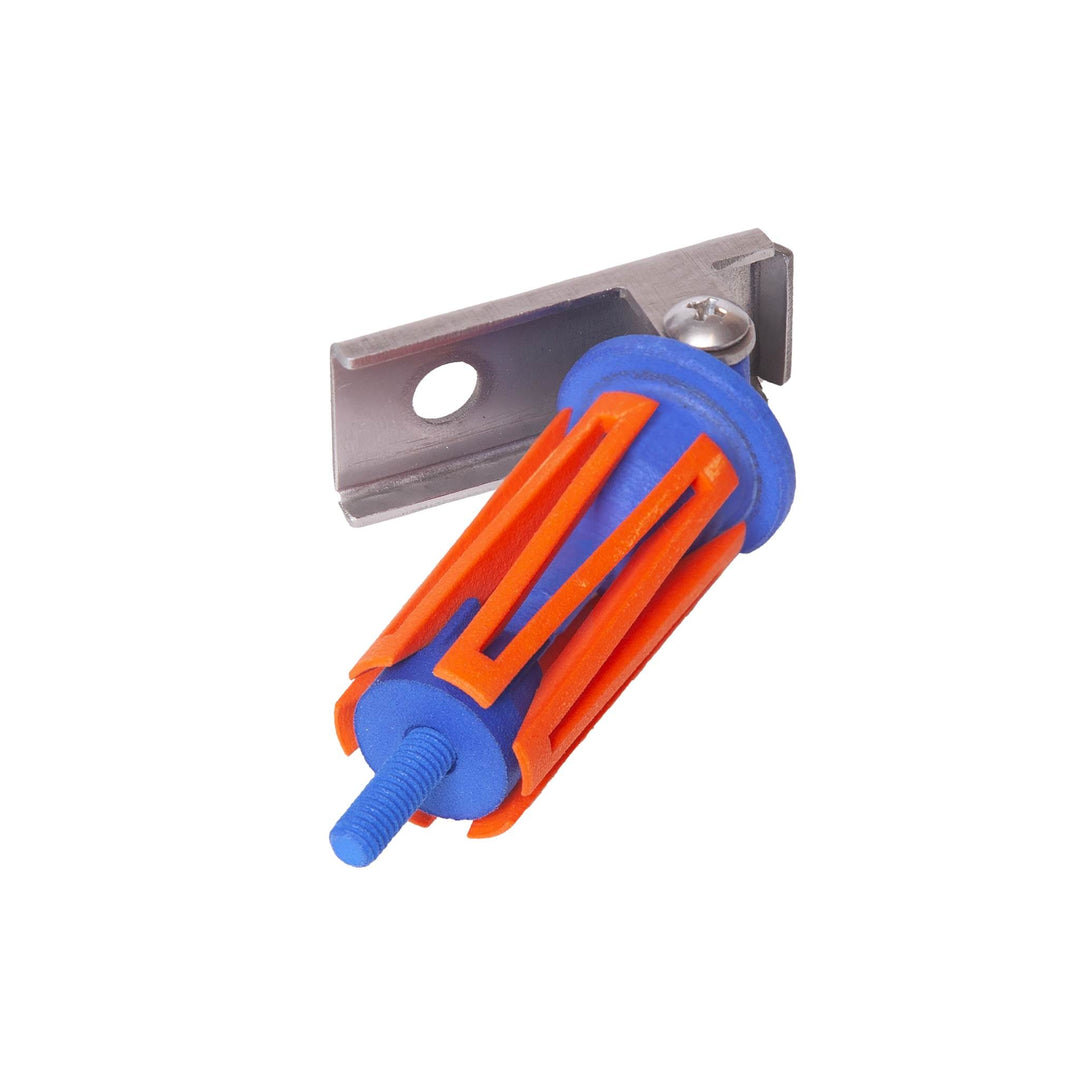
For this purpose, we recommend using our Peg&Stop peg! These have a lock-nut which applies downwards pressure onto a plate (or in this case our tent foot) which needs to be fixed to the ground.
Our Peg&Stop N (available soon) has a diameter of 11 mm and our Peg&Stop S has a diameter of 8.7 mm.
This means that your new hole needs to have a diameter of 14 mm so that you can easily screw through both of our Peg&Stop pegs or also the N peg.
Step 2
Buy a stepped drill bit and car paint

Stepped drill bit
This is a driller bit which you can find in your local hardware store or online. It is important to use a stepped drill bit to ensure that you drill a clean round hole.
A normal driller bit might risk bending of the thin steel plate, and we don't want to mess up our pretty tent poles, am I correct?
It furthermore lets you super easily adjust the diameter while drilling.
Car paint?!
Why the hell would I need car paint?
Well this is a good question, but it becomes super logical as soon as you understand for what we used it for.
When you drill into the tent pole holes, part of the white paint layers come of, and you expose the steel material.
For one, you simply would restore the painted surface to make it look pretty again. But most importantly, you will prevent the poles from rusting due to the uncoated surface.
In our case we used white paint, but the colour you need might vary from model to model.
Step 3
Drill the holes bigger, coat the exposed steel material and let it dry
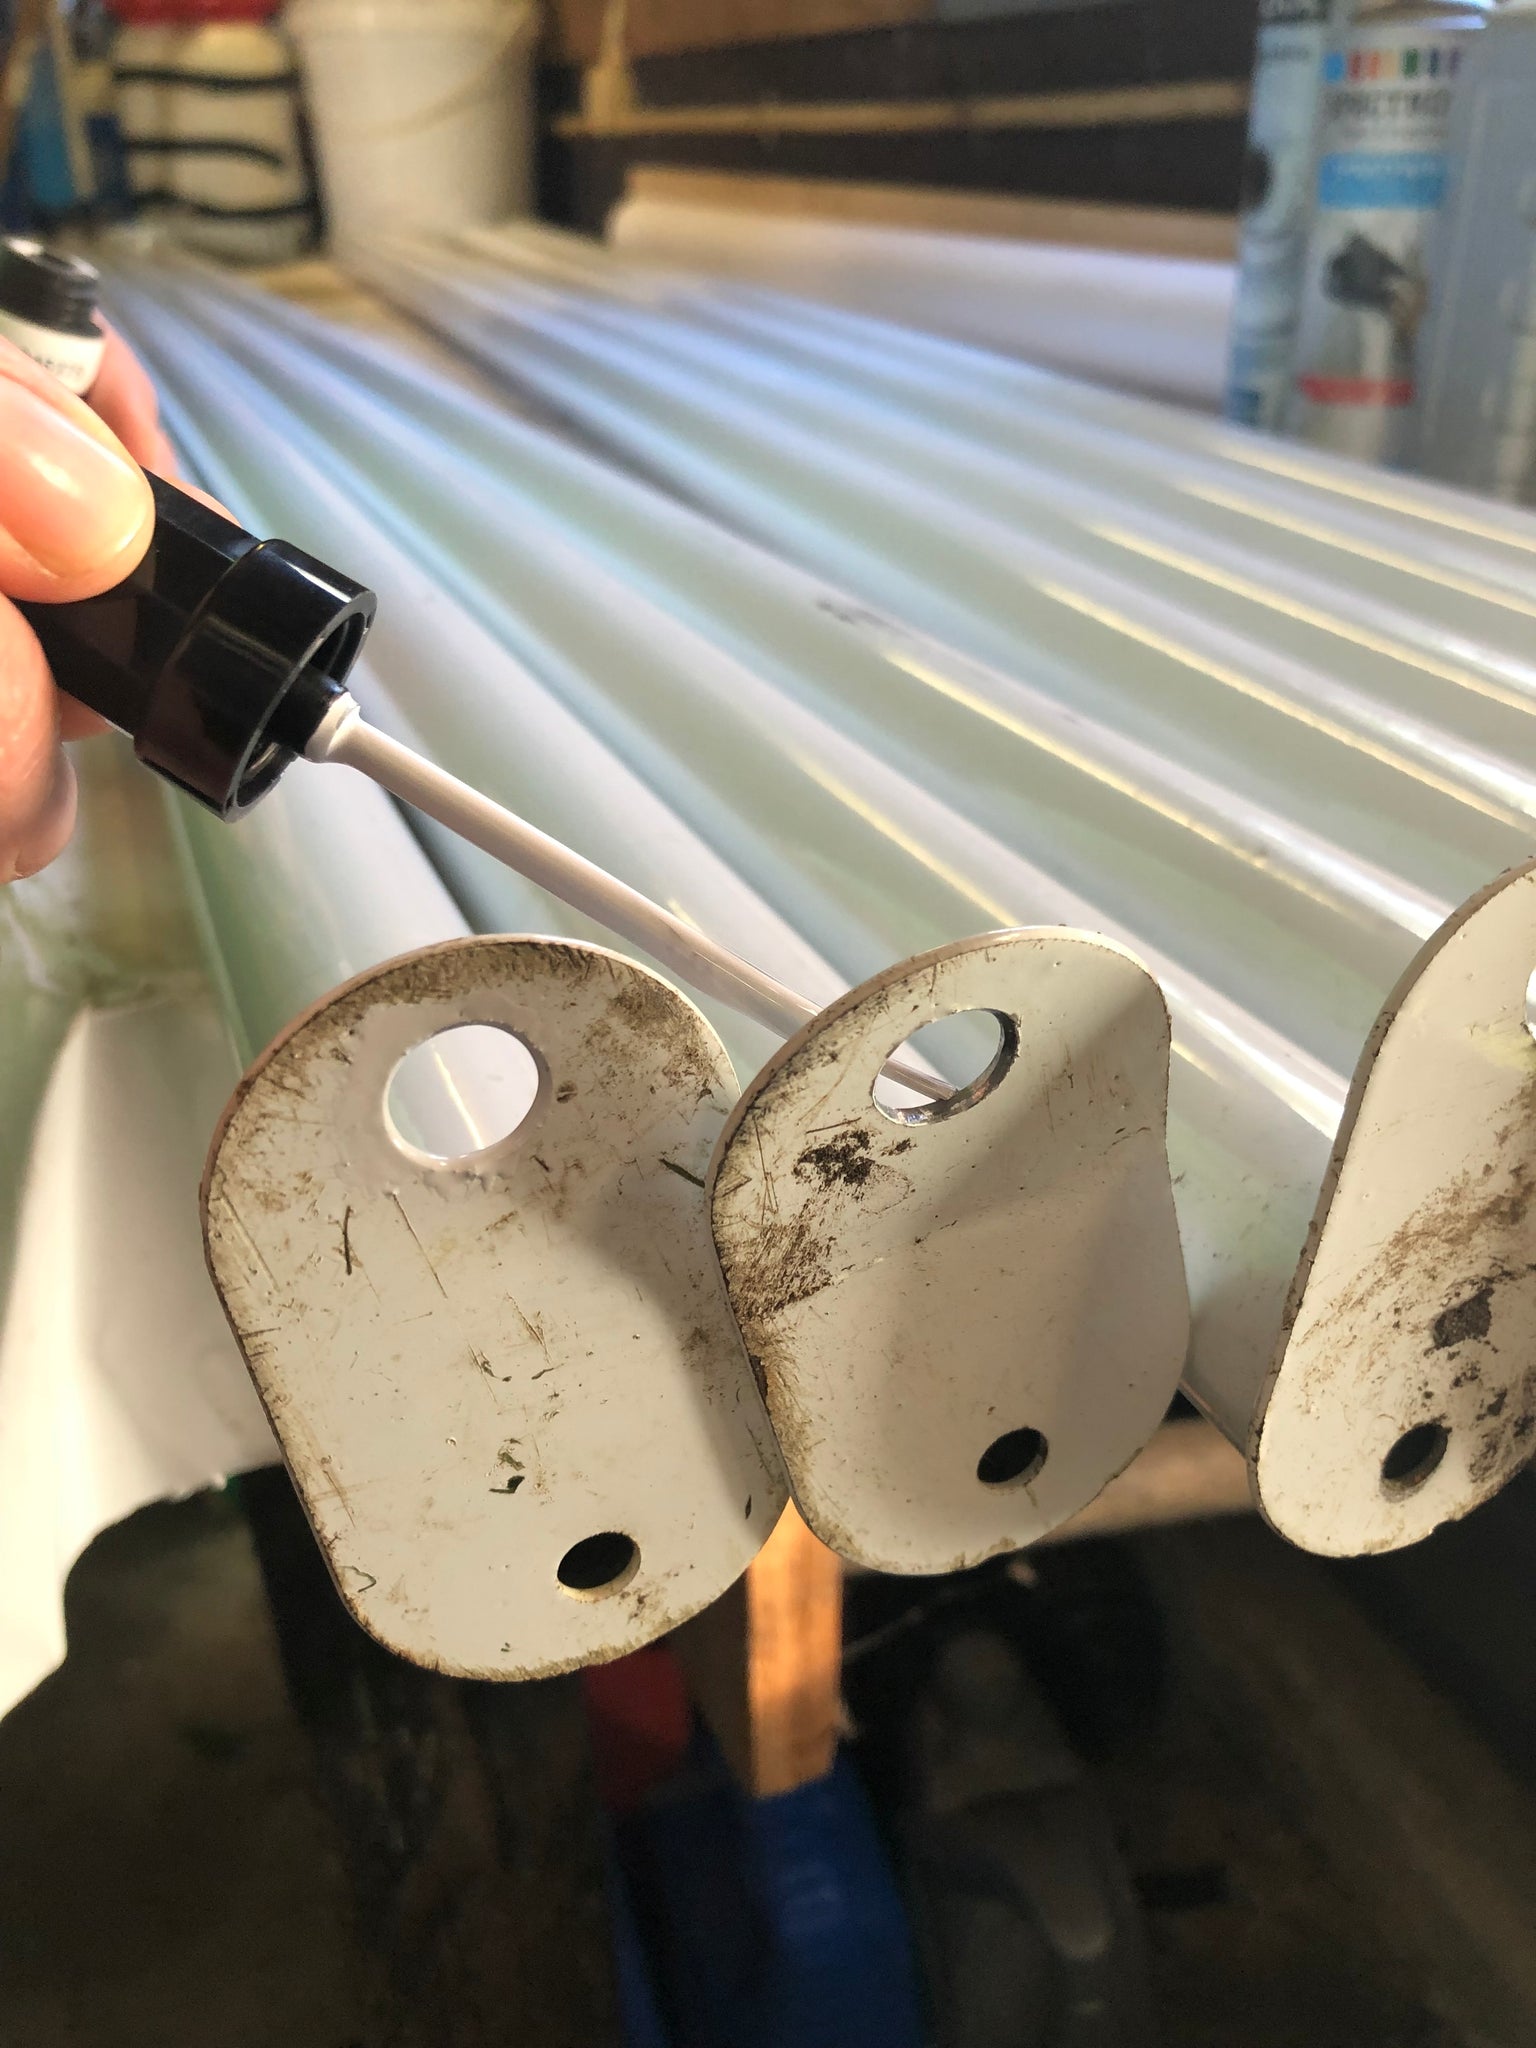
Using an electric drill you can simply drill the holes bigger with the stepped drill bit:

Here you can see the difference in size after we finished drilling:

Now coat the steel again and let dry.
Step 4
It is time to set up the tent!
There is no party without the gazebo, am I right?! So set up the tent in your garden, or simply anywhere you would like to do so.


Step 5
Fix with our Peggy Peg tent pegs
Yet again, we want to prevent the tent from being blown over by the wind, which is why we fixed it with our Peggy Pegs, and despite a wind speed of 28 km/h everything was perfectly anchored to place.
This is thanks to our Peggy Pegs!
We anchored all the tent poles with a Peg&Stop to apply downward pressure and the storm straps with our N peg.
Depending on what soil conditions you are working with, you should adjust the Peggy Pegs accordingly (i.e. very soft soil = LA peg).


Step 6
Enjoy your party!
Now it is time to enjoy your evening. You won't need to worry whether the wind will be stronger than your gazebo because Peggy Peg is securing it properly to the ground.
This also allows you to set up the tent in any season!

But why is it so important to be able to use longer/bigger pegs?
As mentioned, our Small pegs are quite short and would not be the perfect fit to do this job. The thread is pretty tiny; thus, any of our other pegs in our assortment would provide much better grip.
The Peg&Stop we used for the holes and tent poles to be attached have a cutting and compressing thread. After a few turns they will already provide excellent grip and the lock nut makes the system complete!
We do not recommend to ever use our Peggy pegs without their hook or their lock nut!
Through them, you can make use of the height adjustability, meaning that you won't need to screw the peg in all the way.

Do you want to know more about the advantages of the hook, simply read here. As soon as it grips, simply stop screwing the peg and then click in the hook as close to the ground as possible.
It's the same principle with our lock nut. As soon as the peg grips, stop screwing and turn the lock nut clockwise.
This way you apply downwards pressure onto your equipment which needs to be fixed to the ground.
Can it also be set up on the beach?
Unfortunately, there is no universal peg to cover all the different soil types out there, but with the N and P&S peg covering up to 85% of all soil conditions and the height adjustable system you are well-equipped.
Should you set up the tent on the beach, we would recommend you to use the L pegs for the storm straps.
When having 8 leg poles, 8 P&S (N) or standard N pegs should do the job in combination with the L pegs being attached to the storm straps.
Alternatively, it is possible to drill the holes bigger to fit our L pegs depending on the size of the steel plate of your tent poles.
Recap:
To give you a quick recap about what we wanted to demonstrate in this blog post:
- Check the diameter of the current holes and of the peg you intend to use (Depending on your soil conditions this might vary)
- Buy a stepped drill bit and car paint
- Drill the holes bigger, coat the exposed steel material and let it dry
- It is time to set up the tent!
- Fix with our Peggy Peg tent pegs!
- Enjoy your party!
And here are some impressions of the lovely summer set-up:

Subscribe & don't miss anything!
If you loved this idea, let us know.
Should you try it out yourself, please tag us online on Instagram or Facebook
We can't wait for summer to fully arrive!